Shopify blog post template built from blocks
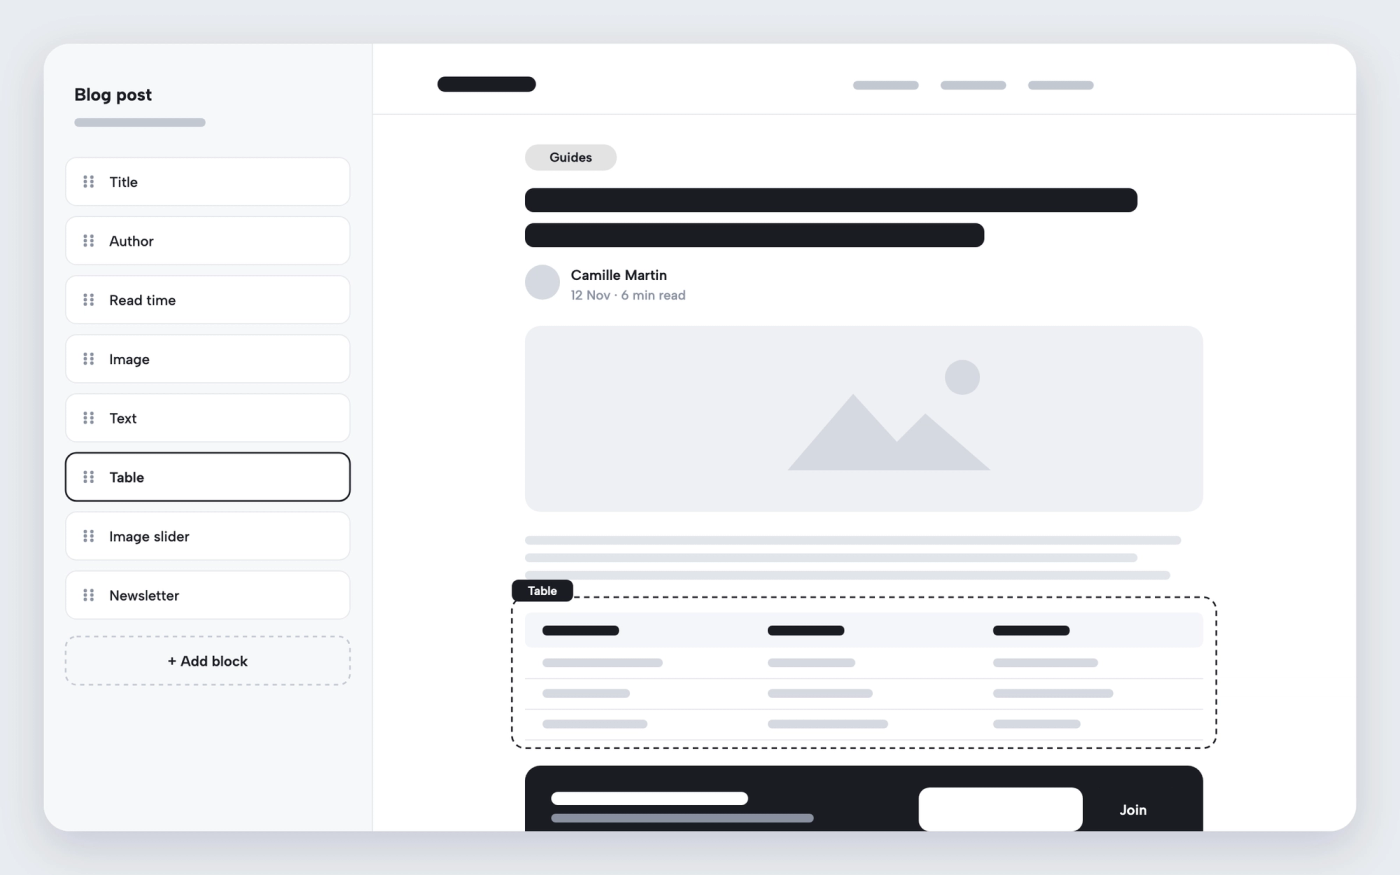
Lay out your blog posts with blocks: tables, sliders, accordions, newsletter forms and more, around the article text.
Available in
The problem
Shopify blog post templates are usually fixed: a title, an image and the body. Adding a table, a slider or a newsletter form inside a post means pasting HTML into the editor or installing a page builder.
The solution
Pops builds the blog post template from blocks. Article blocks cover the author, date, reading time, tags, share button, comments and featured image. Around them you can add any Pops content block: a table, a slider, an accordion, a before/after image, stories or a newsletter form.
How it works
-
Open the blog post template
In the theme editor, choose Blog posts from the template menu.
-
Add and reorder blocks
Add the article blocks you need, then content blocks such as a table or a newsletter form, and drag them into place.
-
Create a second layout if needed
Create another blog post template for a different layout and assign it to posts in the Shopify admin.
Questions merchants ask
Where do I write the article text?
In the Shopify admin, as usual. The article content block shows that text, and the other blocks go around it.
Can two posts have different layouts?
Yes. Create a second blog post template in the theme editor and pick it on the post in the Shopify admin.
Related features
 Saves €6/month
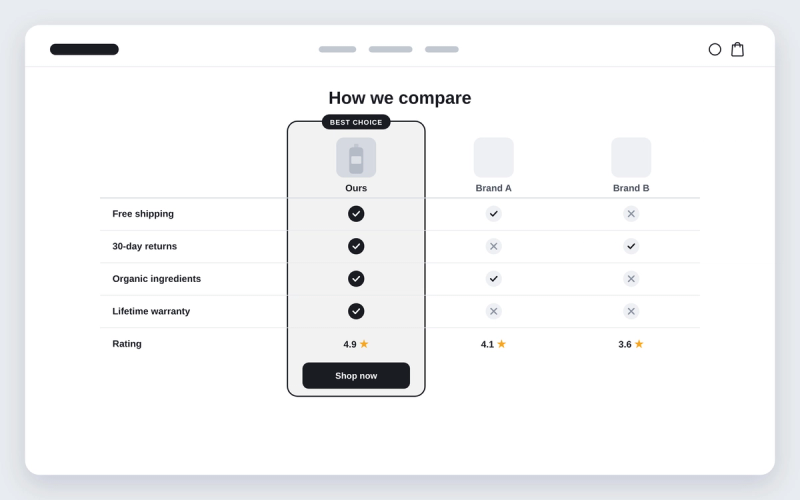
Shopify theme with a comparison table section
Compare your product with the alternatives, row by row, with ticks and crosses.
 Saves €3/month
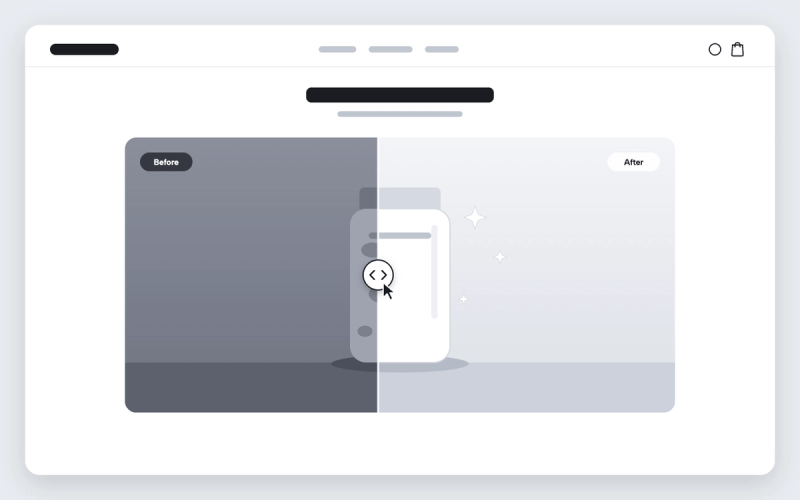
Before and after image slider for Shopify
Shoppers drag a divider across two images to see the difference your product makes.
 Saves €17/month
Instagram-style stories for Shopify
Round story bubbles that open a viewer of image and video slides, like on Instagram.
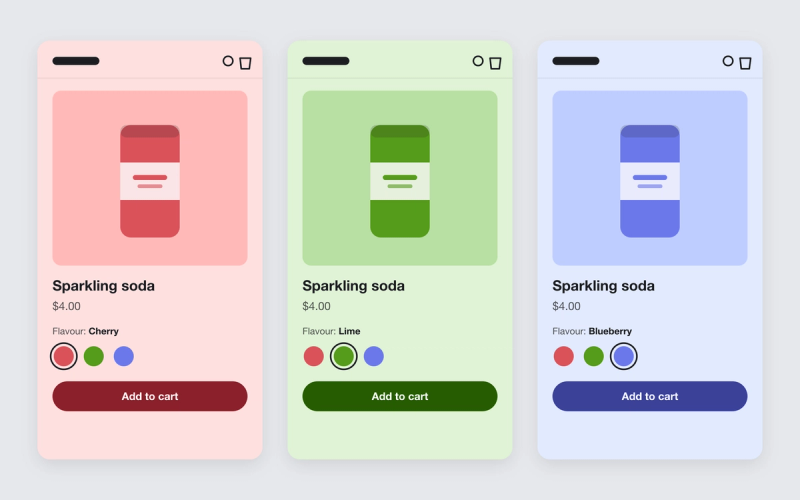
Shopify theme that changes the product page background color per variant
Give each variant a color. When a shopper picks another flavour or shade, the whole product page takes on that color.

Shopify theme that uses OKLCH colors
Pops turns every color in your color schemes into OKLCH, so one hue change recolors the store and contrast stays where you set it.

Hide a section on mobile or desktop in Shopify
Show a section or block only on mobile, or only on desktop, with one checkbox.